Set up each hostel building and who can stay there.
Overview
Buildings are the top level of the accommodation hierarchy and define key policies like gender eligibility. Accurate building setup ensures compliant allocations, clear reporting, and simpler downstream configuration of units, rooms, and beds.
- Role: Container for units/rooms/beds and policy anchor for allocations.
- Policy: “Gender Allowed” restricts where students can be allocated.
- Operations: Use “Active” to temporarily hide buildings without deleting data.
How It Works
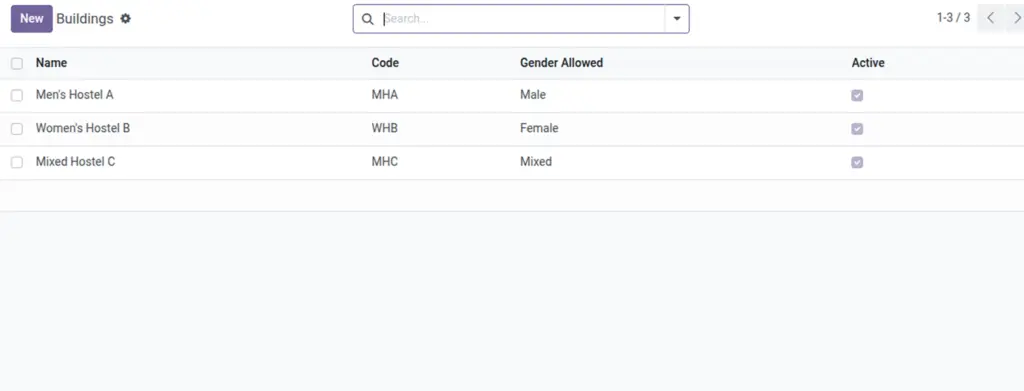
- Add a building once. Later, attach units, rooms, and beds beneath it.
- Deactivating a building hides it from use without deleting data.
Step‑by‑Step Guide
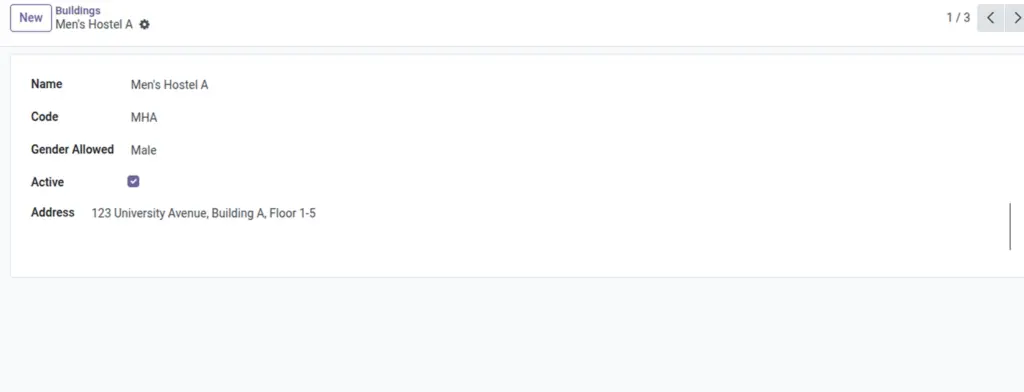
- Go to Master Data → Buildings.
- Click New and enter name and code (optional).
- Choose Gender Allowed (Male, Female, or Mixed).
- Save. Add Units next.
Fields Table
| Field Name | Description | Example |
|---|---|---|
Name |
Building’s display name |
North Wing |
Code |
Short code used in references |
NW |
Gender Allowed |
Who can stay in this building |
Mixed |
Address |
Street and location details |
123 College Rd |
Active |
Hide or show this building |
Checked |
Fields explanation
- Name: Display label for the building.
- Code: Short identifier used in references and room naming.
- Gender Allowed: Allocation policy (Male/Female/Mixed).
- Address: For directions and operational correspondence.
- Active: Archive to hide from use while preserving data.
Tips
- Use consistent short codes to make room references easier.
- Keep addresses updated for visitor directions and maintenance.
Common Mistakes
- Leaving Gender Allowed empty can cause allocation confusion.
Image