Overview
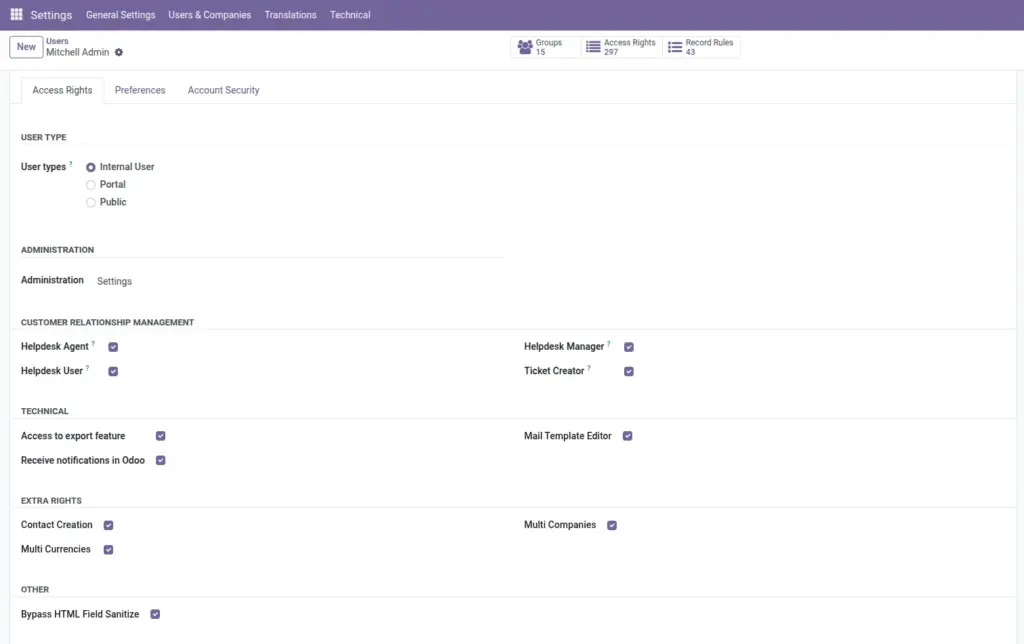
Role-based access controls what each user can view and do inside the Helpdesk module, based on their job responsibility. This structure protects sensitive settings, reduces accidental changes, and keeps daily work focused for each role. Understanding access differences early prevents confusion and speeds up onboarding for new team members.
How It Works
Common roles include Ticket Creator, Helpdesk User, Agent, and Manager, with each role receiving a different menu and permission set. Managers typically handle configuration and full reporting, while agents focus on ticket operations and creators may only see their own requests. When role mapping is planned clearly, teams avoid access issues and work more efficiently.
Step-by-Step Guide
- List each support role in your organization.
- Map role to required menu access.
- Assign users to the correct role/group.
- Ask each role to verify visible menus.
- Review access quarterly.
Fields Table
| Field Name | Description | Example |
|---|---|---|
Role |
Permission level assigned to user. |
Helpdesk Manager |
Visible Menus |
Menu items user can open. |
Tickets, Reporting, Configuration |
My Tickets Access |
Whether user sees only assigned tickets. |
Yes |
All Tickets Access |
Whether user can view all team tickets. |
Manager only |
Configuration Access |
Whether user can edit setup values. |
Manager only |
Reporting Access |
Whether user can use analytics menus. |
Agent and Manager |
Fields Explanation
Role
Defines what user can do.
Visible Menus
Controls daily navigation scope.
My Tickets Access
Keeps focus on personal workload.
All Tickets Access
Needed for operational oversight.
Configuration Access
Reserved for trusted admins.
Reporting Access
Supports performance tracking.
Tips
- Follow least-access principle.
- Create a role matrix document for HR and IT.
- Test with sample users before go-live.
Common Mistakes
- Giving manager access to all users.
- Not updating access when people change teams.
- Ignoring user confusion about missing menus.
Image