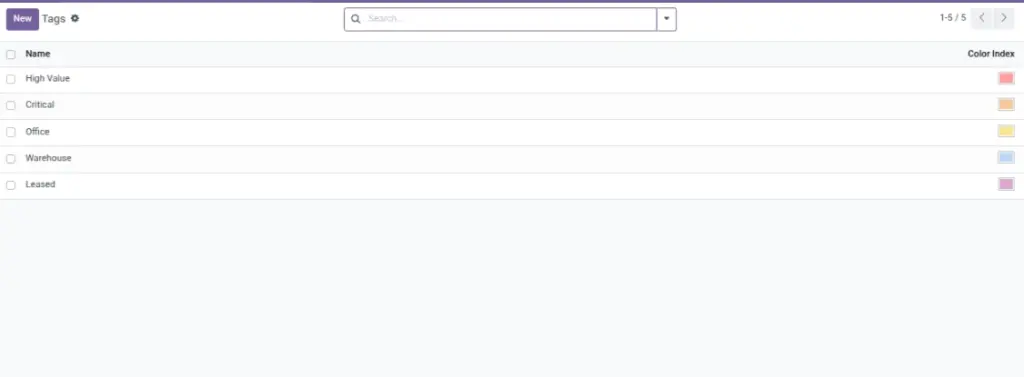
Tags are simple labels you attach to assets so you can filter and group them quickly. Example tags: “High Value”, “Critical”, “Office”, “Warehouse”, “Leased”.
Overview
Go to Asset → Configuration → Tags to create and manage tags. Then, in an asset record, add tags in the Basic Information section.
How it works
- Tags can be applied to many assets.
- Assets can have multiple tags at the same time.
- Tags are most useful in list view filters and groupings.
Why this matters: tags help you answer questions like “show all critical assets” in seconds.
Step-by-step guide
Create a tag
Go to Asset → Configuration → Tags and click Create.
Choose a clear name
Keep it short and consistent (example: “High Value”, “Critical”, “Leased”).
Add tags to assets
Open an asset and add the tags in the Basic Information area.
Filter and group by tags
In the Assets list, use search and Group By to see assets by tag.
Fields table
| Field Name | Description | Example |
|---|---|---|
Name |
The tag label shown on assets. |
High Value |
Color |
Visual color for the tag (helps scanning lists quickly). |
Red for “Critical” |
Field explanations
| Field Name | Explanation |
|---|---|
Name |
Clear, self‑explanatory label so everyone understands it instantly. |
Color |
Use color to convey meaning at a glance (e.g., red = critical). |
Tips
- Start with 5–10 tags and expand only when needed.
- Use tags for business questions: “Critical”, “High Value”, “Leased”, “Warehouse”.
- Avoid duplicates: keep naming consistent (singular/plural, capitalization).
Common mistakes
- Too many tags: users stop using them if the list is overwhelming.
- Unclear names: tags like “Misc” don’t help reporting.
- Using tags instead of status: keep “Status” for lifecycle stage; tags for classification.
Image placeholder